 Save
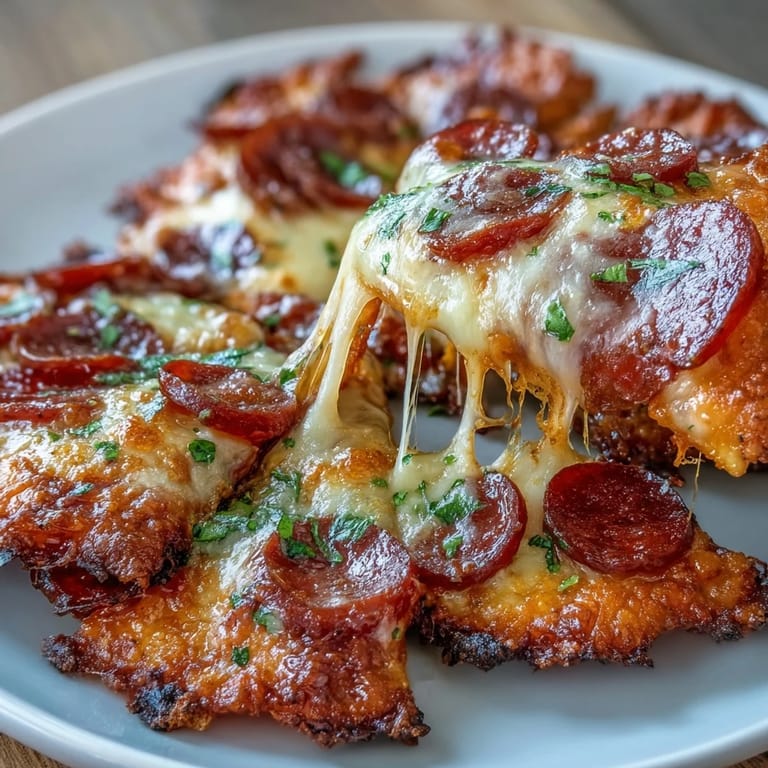
Save The first time I made these, my kitchen smelled like an Italian pizzeria on a Friday night. I had friends coming over for last-minute drinks and zero time to run to the store. The pepperoni package in my fridge and a random collection of cheese remnants saved the evening entirely.
My sister-in-law texted me at midnight asking for the recipe after tasting exactly one crisp at a family gathering. She could not believe something so simple could taste so incredibly indulgent and satisfying.
Ingredients
- 1 cup shredded mozzarella cheese: This melts beautifully and creates those gorgeous cheese skirts that everyone fights over
- 1/2 cup shredded cheddar cheese: Adds sharp depth and helps the crisps hold their shape during baking
- 1/4 cup grated Parmesan cheese: The secret salty punch that makes these taste like they came from a fancy restaurant
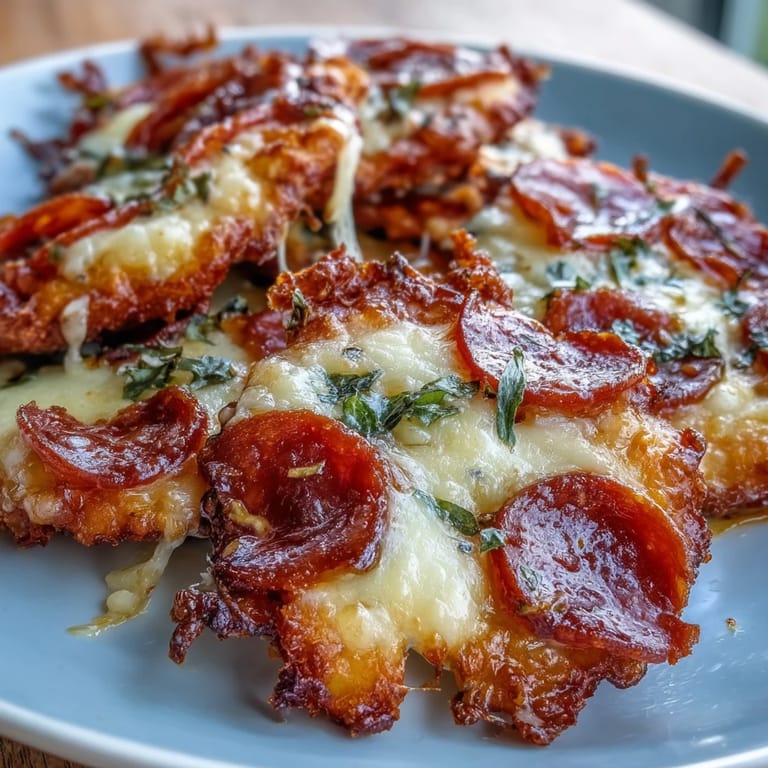
- 40–50 slices pepperoni: Turkey pepperoni works great and yields less grease, while regular pepperoni gives that classic crispy curl
- 1 teaspoon Italian seasoning: Fresh or dried works, but toss it well with the cheese so every bite gets the herby notes
- 1/2 teaspoon garlic powder: Use fresh garlic granules if you can find them for a milder, sweeter flavor
Tired of Takeout? 🥡
Get 10 meals you can make faster than delivery arrives. Seriously.
One email. No spam. Unsubscribe anytime.
Instructions
- Get your oven ready:
- Preheat to 375°F and line a baking sheet with parchment paper because these cheesy beauties will stick to bare metal
- Mix your cheeses:
- Combine all three cheeses in a bowl with Italian seasoning and garlic powder until evenly distributed
- Prep the pepperoni:
- Cut large slices in half and arrange them in a single layer with breathing room between each piece
- Pile on the cheese:
- Mound a generous spoonful of the seasoned cheese mixture onto each pepperoni slice, letting some spill onto the pan
- Bake until golden:
- Cook for 8 to 10 minutes until the cheese bubbles and turns light golden while the pepperoni edges curl up
- Cool completely:
- Let them rest on the baking sheet for a couple of minutes, then move to a wire rack so they crisp up properly
 Save
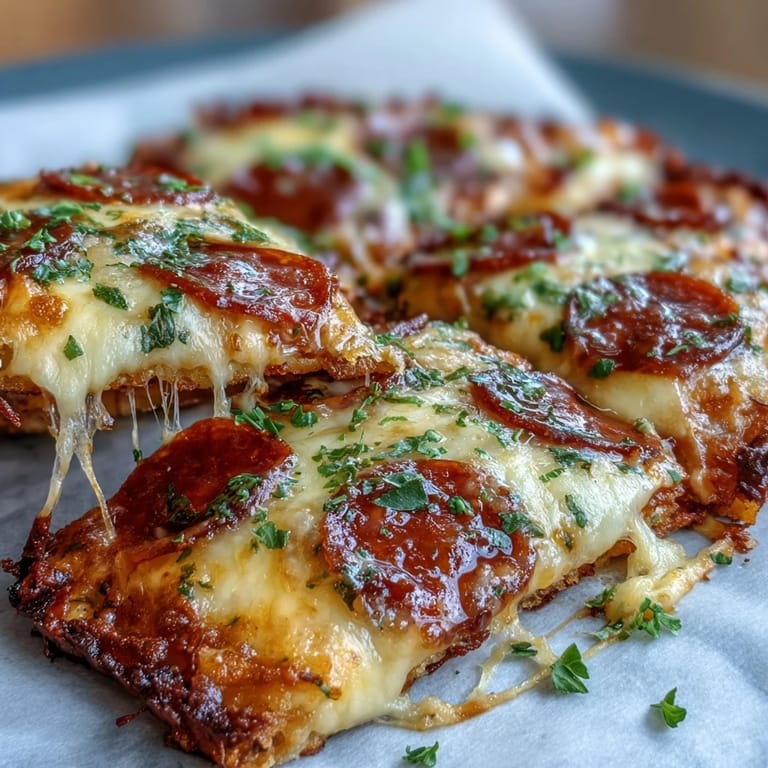
Save These became my go-to contribution for every potluck and party after watching people hover around the platter, unable to walk away. There is something magical about hot, salty, crunchy cheese that brings people together.
Making Ahead and Storage
I learned the hard way that these are best eaten fresh, but leftovers keep surprisingly well in an airtight container for about three days. A quick 30-second zap in the microwave or 2 minutes in a 350°F oven brings back most of the original crunch.
Equipment Options
A muffin tin creates perfectly round crisps with neatly contained edges, while an air fryer at 350°F for 5 to 7 minutes delivers restaurant-quality results in record time. The parchment paper method remains my favorite because it yields those irregular, rustic edges that look so inviting on a serving platter.
Flavor Variations to Try
Swap the Italian seasoning for smoked paprika and cumin, or add finely diced jalapeños to the cheese mixture for a spicy kick. Sometimes I sprinkle everything bagel seasoning on top during the last minute of baking for an unexpected savory twist.
- Add a tiny pinch of red pepper flakes if you enjoy heat
- Fresh parsley sprinkled right before serving makes them look elegant
- Try provolone instead of mozzarella for a milder, creamier result
 Save
Save Every time I serve these, someone asks why I do not make them more often. The truth is, I would make them weekly if I could stop myself from eating the entire batch straight from the cooling rack.
Recipe Help
- → Can I make pepperoni cheese crisps in an air fryer?
Yes, air fryers work wonderfully. Preheat to 350°F, arrange pepperoni slices in a single layer, top with cheese mixture, and cook for 5-7 minutes until crispy. Monitor closely to prevent burning.
- → What cheese combinations work best for crisps?
The classic trio of mozzarella for melt, cheddar for sharpness, and Parmesan for umami creates perfect balance. Try provolone, Monterey Jack, or pepper jack for variations. Grating your own cheese ensures better melting than pre-shredded.
- → How do I store and reheat leftover crisps?
Keep in an airtight container at room temperature for up to 3 days. Reheat in a toaster oven or air fryer at 350°F for 2-3 minutes to restore crispness. Microwaving makes them chewy rather than crispy.
- → Are pepperoni cheese crisps truly keto-friendly?
Yes, these crisps contain minimal carbs—only 0.3g per piece. Using full-fat cheese and pepperoni provides satiating fats and protein. Always verify pepperoni labels for hidden sugars or fillers.
- → Why do my crisps turn out soggy instead of crispy?
Soggy results usually come from overcrowding the baking sheet or underbaking. Ensure pepperoni slices have space between them for air circulation, and bake until cheese is golden and pepperoni looks thoroughly crisped.
- → Can I make these ahead for parties?
Absolutely. Bake up to 2 days ahead and store at room temperature. Reheat batches in the oven at 375°F for 3-4 minutes before serving. The muffin tin method creates uniform shapes perfect for crowds.