 Save
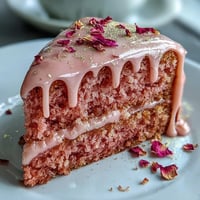
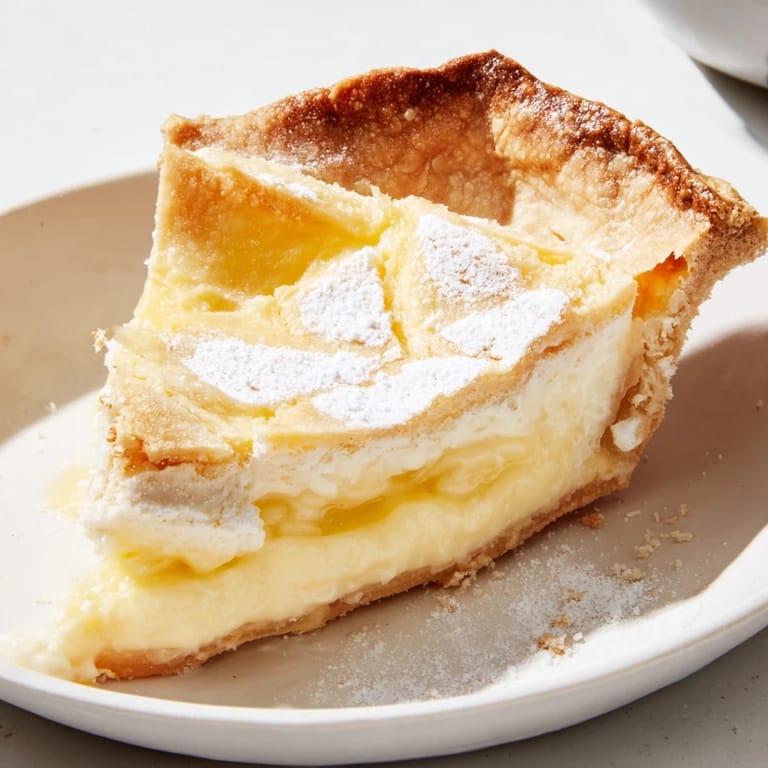
Save A nostalgic dessert from the Great Depression era, water pie transforms simple pantry staples into a surprisingly creamy, custard-like treat with a delicate vanilla flavor and crisp, sugary crust.
I first discovered water pie while searching for unique vintage desserts to share with my family. Its simplicity and smooth texture made it an instant favorite for gatherings and afternoon treats.
Ingredients
- Unbaked 9-inch pie crust: Store-bought or homemade
- Water: 1 1/2 cups
- Unsalted butter: 4 tablespoons
- Granulated sugar: 3/4 cup
- All-purpose flour: 3 tablespoons
- Vanilla extract: 1 teaspoon
- Salt: Pinch
Tired of Takeout? 🥡
Get 10 meals you can make faster than delivery arrives. Seriously.
One email. No spam. Unsubscribe anytime.
Instructions
- Preheat Oven:
- Preheat oven to 400°F (200°C).
- Prepare Crust:
- Place unbaked pie crust in a 9-inch pie pan and crimp edges.
- Add Water:
- Pour water directly into the pie crust.
- Mix Dry Ingredients:
- Stir sugar and flour together then sprinkle evenly over water.
- Add Flavorings:
- Drizzle vanilla over top and add a pinch of salt.
- Add Butter:
- Slice butter and distribute evenly over the surface.
- Bake:
- Bake on lower oven rack at 400°F (200°C) for 30 minutes.
- Lower Temperature:
- Reduce oven to 375°F (190°C) and bake for 20 minutes until crust is golden and filling is set with a slight jiggle.
- Cool and Chill:
- Remove from oven. Cool to room temperature then refrigerate at least 2 hours before slicing.
 Save
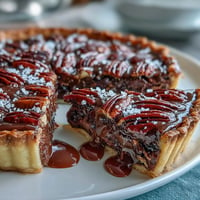
Save Making water pie together brought back stories from my grandmother's own childhood. Slices of this pie quickly vanish any time we gather for Sunday dessert.
Required Tools
9-inch pie pan, mixing bowl, measuring cups and spoons, oven
Allergen Information
Contains wheat (gluten), dairy (butter). Check store-bought crust for possible egg, dairy, or soy.
Nutritional Information
Per serving: Calories 210, Total Fat 8 g, Carbohydrates 33 g, Protein 2 g
 Save
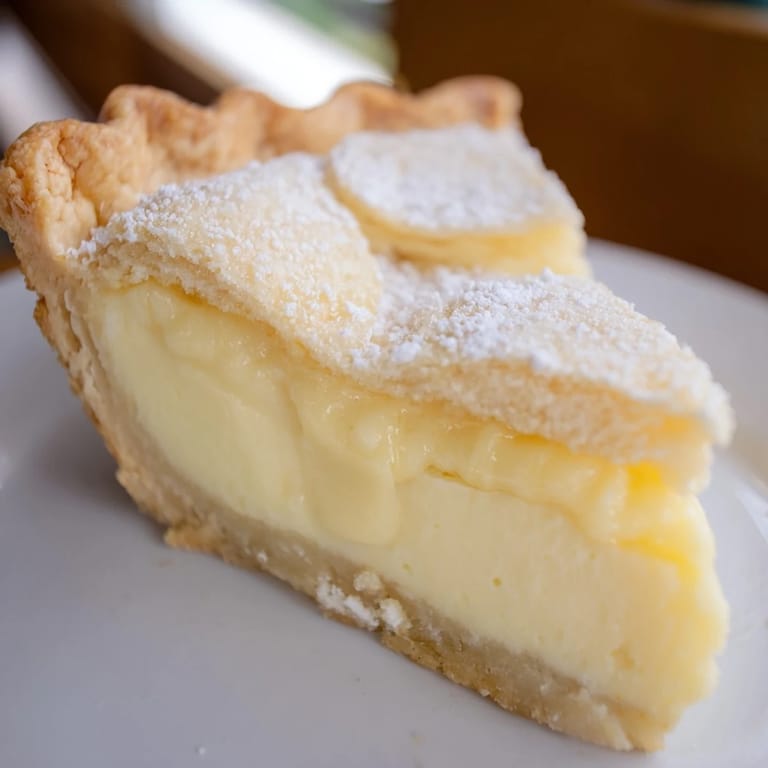
Save Enjoy this nostalgic pie chilled, with fresh berries or whipped cream for an extra-special touch. Every bite is a sweet reminder of simple joys.
Recipe Help
- → Can I use a homemade pie crust?
Yes, a homemade crust adds extra flavor and texture. Either store-bought or homemade works for this dessert.
- → How do I achieve a crisp crust?
Baking on the lower oven rack helps crisp the bottom, while reducing temperature midway ensures even cooking.
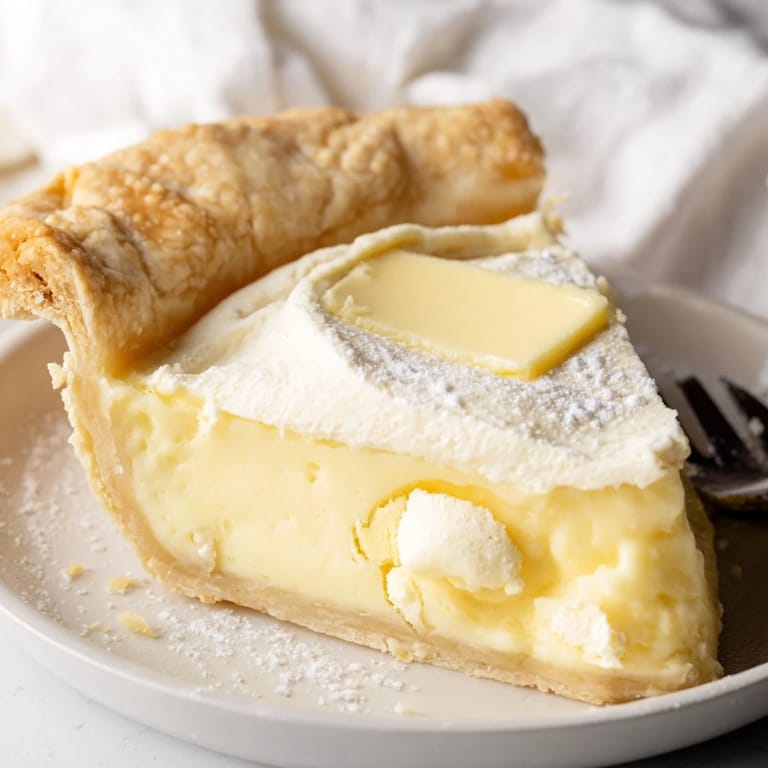
- → What does the filling taste like?
The filling turns creamy and custard-like with gentle vanilla notes and a subtle buttery richness.
- → Can I make it vegan?
Yes, substitute plant-based butter and a vegan crust for a dairy-free, egg-free version without sacrificing texture.
- → Is this dessert sweet?
It's moderately sweet, with sugary notes balanced by buttery and vanilla flavors for a light finish.
- → How should I serve it?
Slice after chilling, then serve plain or topped with whipped cream or fresh berries for extra flair.